
We’ve all been there. An eternity trying to get your foundation just right, only to see a streaky, patchy mess in natural light. It’s frustrating when you’re trying to get a flawless foundation base that looks like you were just born with incredibly good skin. Well, the trick is actually much simpler than you think.
Achieving that “I woke up like this” complexion isn’t about piling on product; it’s about technique. It’s a fine art, but it’s one that anyone can master. This isn’t just another makeup tutorial. We’re going to get into the nitty-gritty of what it really takes to get a magazine cover worthy foundation finish. So, grab your makeup bag and let’s get down to business.
The Canvas is Everything: Prepping Your Skin
You wouldn’t paint on a dirty, uneven canvas. Well, the same principle applies to your face. The absolute, non-negotiable first step to a flawless foundation base is proper skincare.
1. Cleanse and Exfoliate
First you have to start with a clean slate. Use a gentle cleanser to wash away any dirt, oil, and leftover makeup. Our favorite is this #ad oil to foam cleanser that gives you the benefits of double cleansing in one step. Then about two to three times a week, you’ll want to go a step further with exfoliation. This sloughs off dead skin cells that can make your foundation look dull and textured.
- For Oily Skin: A chemical exfoliant with salicylic acid works wonders. #ad
- For Dry Skin: Look for a gentle scrub or a chemical exfoliant with glycolic acid. #ad
2. Hydration is Key
Hydrated skin is happy skin. After cleansing, apply a hydrating toner or essence. Then, follow up with a moisturizer that suits your skin type. Yes, even if you have oily skin! A lightweight, oil-free moisturizer will keep your oil production in check.
3. Prime Time
Think of primer as the bridge between your skincare and your makeup. It creates a smooth surface for your foundation to glide over, helps it last longer, and can even address specific skin concerns.
- Blurring Primers: Minimize the appearance of pores and fine lines.
- Hydrating Primers: Give a boost of moisture for a dewy finish.
- Mattifying Primers: Control shine for those with oily skin.
Finding Your Perfect Match: The Right Foundation
With a bunch of foundations on the market, finding “the one” can feel overwhelming. But it boils down to two main things: your skin type and your desired finish.
Know Your Undertone
A foundation can look perfect in the bottle, but turn you into an Oompa Loompa. Here’s how you determine your undertone.
- Cool: You have pink, red, or blueish undertones. You tend to burn easily in the sun.
- Warm: You have golden, yellow, or peachy undertones. You tan easily.
- Neutral: You have a mix of both cool and warm undertones.
A quick trick is to look at the veins on your wrist. If they look blue, you’re likely cool-toned. Green? You’re warm-toned. If you can’t tell, you’re probably neutral.
Finish and Formula
- Dewy Finish: Great for dry or mature skin, giving a youthful glow.
- Matte Finish: The best friend of oily skin types, keeping shine at bay.
- Satin Finish: The happy medium, offering a natural, skin-like look.
When it comes to formula, liquids and creams offer more coverage, while powders are great for a lighter, more natural feel.
The Art of Application: How to Achieve a Flawless Foundation Base
You’ve prepped your skin and found your perfect foundation. Now, for the main event. This is how to achieve a flawless foundation base with application techniques that make all the difference.
1. Start with Less
You can always add more, but it’s a struggle to take away. Start with a small amount of foundation on the back of your hand, and dot it onto the center of your face—your forehead, nose, and chin.
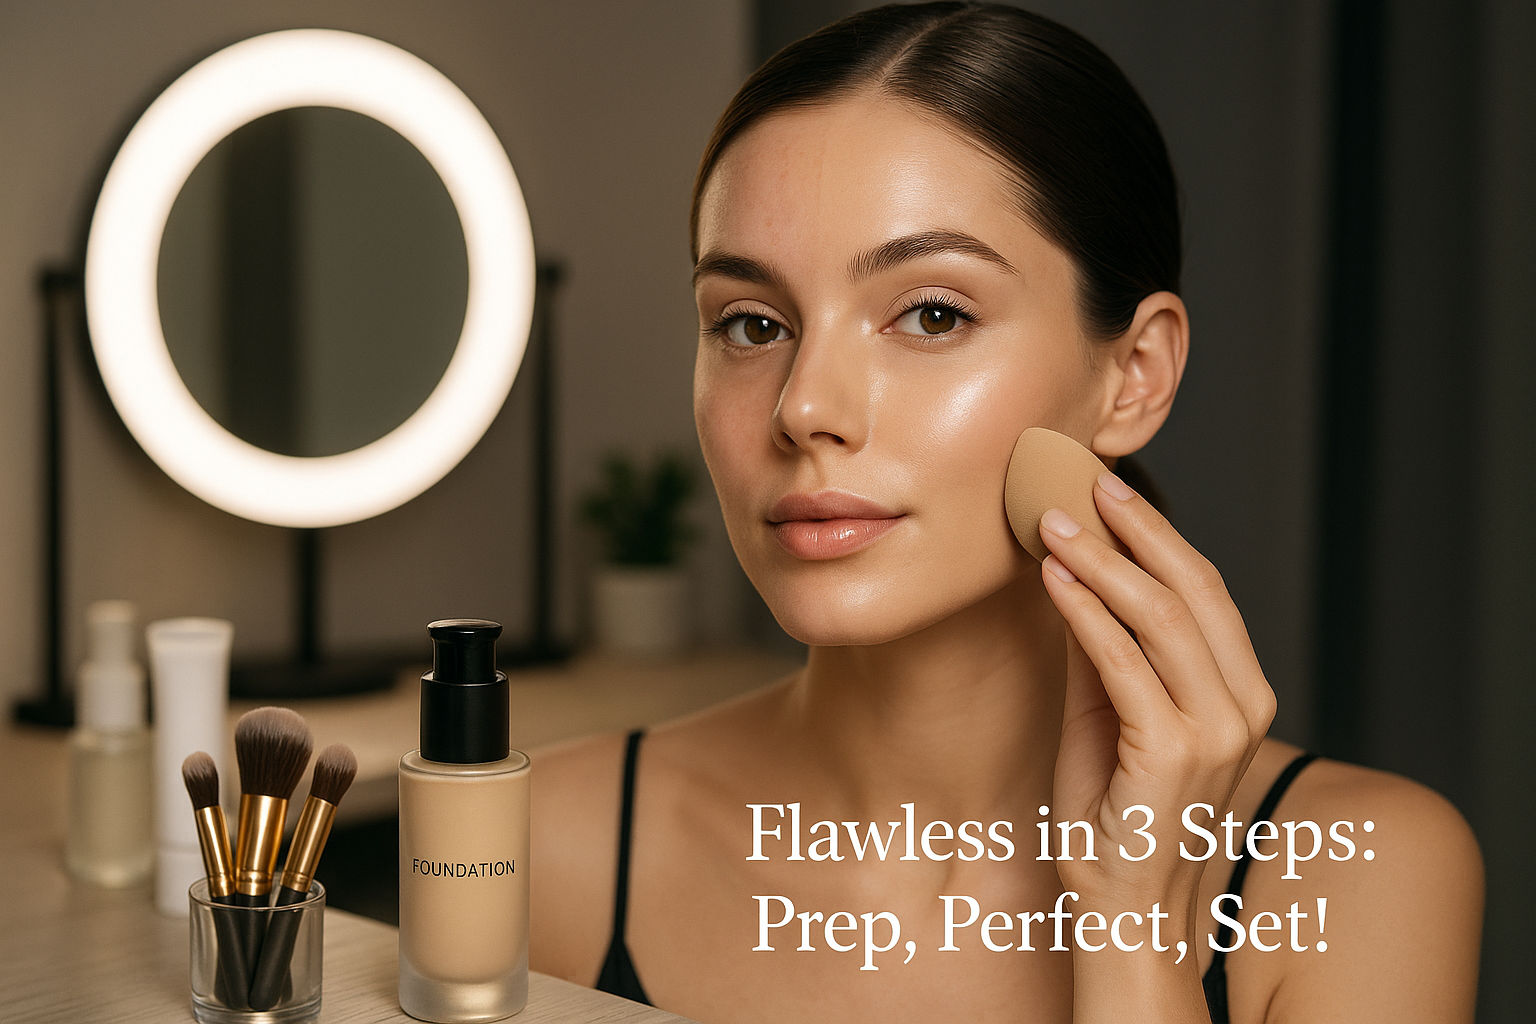
2. Choose Your Weapon: Brush, Sponge, or Fingers?
- Foundation Brush: A dense, kabuki-style brush is great for buffing foundation into the skin for an airbrushed finish. Use circular motions.
- Makeup Sponge: A damp makeup sponge (like a Beautyblender) is a game-changer for a seamless, natural finish. Use bouncing or stippling motions to press the product into the skin.
- Fingers: The warmth of your fingers can help the foundation melt into your skin beautifully. This is great for a sheer, natural look.
3. Blend, Blend, and Blend Some More
The golden rule of foundation is to blend until your arm gets tired. Blend outwards from the center of your face, making sure to carry the product down your neck to avoid that dreaded foundation mask. Pay extra attention to your hairline and jawline.
Lock it In: Setting Your Masterpiece
You’ve done all the hard work; now it’s time to make sure it lasts all day.
Powder Power
If you have oily skin or just want extra staying power, a light dusting of translucent setting powder is a must. Use a large, fluffy brush and focus on the areas that tend to get shiny, like your T-zone.
The Magic of Setting Spray
A few spritzes of a good setting spray can work wonders. It melts all the powders into your skin for a less “makeup-y” look and locks everything in place for hours on end.
Frequently Asked Questions (FAQs)
Q1: Why does my foundation look cakey?
This is usually a result of using too much product or not prepping your skin properly. Make sure you’re exfoliating regularly and starting with a small amount of foundation.
Q2: How do I stop my foundation from settling into fine lines?
A good primer is your best friend here. Also, make sure your skin is well-hydrated. After applying foundation, you can gently press over any fine lines with a damp sponge to pick up excess product.
Q3: Can I mix foundations?
Absolutely! Mixing foundations is a great way to get your perfect custom shade and finish.
Conclusion
And there you have it, this is how to achieve a flawless foundation base. It might seem like a lot of steps, but once you get into the swing of things, it becomes second nature. Remember, makeup is all about having fun and feeling confident. So, experiment with these techniques, find what works for you, and get ready to put your best face forward.